Publish CRM Ready HubSpot Testimonials in 4 Tier Aware Ways

Use an embed widget when you need fast, portable results. Use HubDB when you want native, filterable testimonials and you’re on Professional or Enterprise. Use a Marketplace module when you want no-code installation on any tier, including Free. Use a custom HubL module only when you need full design and accessibility control. Most marketing teams start with the embed widget, then move to HubDB once they’ve proven the impact.
TL;DR:
- Using third-party embed widgets is fastest for quick testimonials, but can impact page load times if not optimized properly.
- Building a HubDB table allows for native filtering and dynamic control but requires Professional or Enterprise tier and some development effort.
- Marketplace modules offer no-code, quick deployment suitable for all tiers but with limited audience segmentation and customization options.
- Custom HubL modules enable complex filtering and advanced features but demand high developer effort and detailed planning for content management.
- Automating testimonial collection via triggers and verifying sources through platforms like Clareefai enhances credibility and integrates testimonials directly into the CRM for sales use.
Table of Contents
- How Do You Add Testimonials to HubSpot? Comparing Your Options
- Method 1: Embed a Third-Party Testimonial Widget
- Method 2: Build a HubDB Testimonials Table for Native Control
- Method 3: Install a HubSpot Marketplace Testimonial Module
- Method 4: Build a Custom HubL Module for Full Control
- Where and How Should Testimonials Appear for Maximum Impact?
- How Do You Automate Testimonial Collection and Verification?
- What I’ve Learned Rolling Out Testimonials on Live Sites
- Turn Verified Customer Stories Into a HubSpot Sales Asset
- Sources
How Do You Add Testimonials to HubSpot? Comparing Your Options
Picking the right method comes down to your CMS Hub tier, your team’s technical comfort, and how much personalization you actually need. Here’s what each path costs you in effort and what you get back.
- Embed widget (Custom HTML/Rich Text): Low effort, works on every tier including Free, best for a fast test or video testimonials pulled from multiple review sites.
- HubDB + custom module: Medium to high effort, requires Professional or Enterprise, best for native dynamic control with filtering by audience or product line.
- Marketplace module: Low effort, works on all tiers, best for no-code teams who want drag-and-drop styling without touching HubL.
- Custom HubL module: High effort (developer required), works on any tier with CMS development access, best when you need unique animations, accessibility compliance, or complex filtering logic.
A common pattern among HubSpot teams: combine methods rather than pick just one. Drop a widget on a landing page you built this week, then invest in HubDB for your homepage or pricing page where testimonials need to rotate by segment.
Method 1: Embed a Third-Party Testimonial Widget
This is the fastest path to a live testimonial on your site, and it works regardless of your CMS Hub tier. Most testimonial platforms generate an embed snippet you paste directly into a HubSpot page.
Before you paste anything, check the snippet for three things: it should load asynchronously (so it doesn’t block your page), it shouldn’t rely on inline <script> tags that your Content Security Policy might block, and it should include explicit width and height attributes so your layout doesn’t jump when it loads.
Here’s the sequence inside the HubSpot page editor:
- Drag a Rich Text module or a Custom HTML module onto the page where you want the testimonial to appear.
- Open the module’s source code view.
- Paste the embed code exactly as provided by your testimonial tool.
- Save the module and switch to preview mode to confirm it renders correctly.
- Publish, then check the live page on both desktop and mobile.
Watch for a few common snags: cookie consent banners can delay widget rendering, ad blockers sometimes strip third-party scripts, and staging environments occasionally block external domains until you whitelist them. Test in a staging page first if your portal has one.
This method shines when you’re aggregating video testimonials from multiple platforms or when you want testimonial content that stays portable if you ever migrate away from HubSpot.
Pro Tip: Run the embedded widget through Google’s PageSpeed Insights after publishing. A poorly coded widget can add 500ms or more to load time, which quietly undercuts the conversion lift you’re trying to create.
Method 2: Build a HubDB Testimonials Table for Native Control
If you’re on CMS Hub Professional or Enterprise, HubDB gives you something an embed widget can’t: testimonials that live inside HubSpot’s own data layer, fully searchable and filterable by HubL.
Start with a schema that anticipates how you’ll actually use the data. HubDB tables work well with these columns: name, role, company, photo, quote, star rating, tags (for filtering by industry or use case), video URL, and a “featured” boolean so editors can flag which testimonials show on which pages without touching code.
The build sequence looks like this:
- Create a new HubDB table and define your columns with the right data types (text, image, boolean, number).
- Add your testimonial rows, either manually or via CSV import for bulk migration.
- Publish the table so it’s available to the CMS.
- Build a custom module that queries the table with HubL.
- Add the module to your target page and configure any display options (grid, carousel, filtered list).
Smart Content rules let you show different testimonials to different segments, pairing a HubDB query with contact list criteria so a returning visitor from the healthcare industry sees a healthcare-specific quote instead of a generic one. Assign one editorial owner to the table, and set a quarterly reminder to retire outdated quotes and add fresh ones.
Method 3: Install a HubSpot Marketplace Testimonial Module
The HubSpot Asset Marketplace offers pre-built testimonial modules that skip the custom development step entirely. Search “testimonials” in the marketplace and compare listings on a few specific criteria.
- Repeater fields: Confirm the module supports unlimited testimonial entries rather than a fixed number.
- Styling control: Look for drag-and-drop customization of colors, fonts, and layout inside the page editor.
- Responsiveness: Check that the module’s demo renders cleanly on mobile, not just desktop.
- Custom fields: Verify it supports photos, ratings, and company logos, not just plain text quotes.
Options like the Testimonials Slider module demonstrate the category well: repeater fields for unlimited entries, no-code drag-and-drop setup, and responsive design that works across most CMS Hub tiers, Free included.
Installation happens inside your portal under Marketplace > Modules, with a single click to add it to your account. Configuration is entirely visual, no code required.
The tradeoff versus HubDB is speed against personalization. A marketplace module gets you live in minutes but won’t filter by audience segment the way a custom HubDB query can. Most modules are free or low-cost; test one on a low-traffic page first to confirm it matches your brand before rolling it out sitewide.
Method 4: Build a Custom HubL Module for Full Control
Reach for a custom HubL module when your requirements outgrow what a marketplace listing or a basic HubDB query can deliver: complex filtering logic, custom animations, or strict accessibility requirements your legal or compliance team is enforcing.
At a high level, developers query the HubDB table, loop through rows with HubL, escape any user-generated text to prevent markup errors, and lazy-load video or image assets so the module doesn’t slow the page.
- Query the HubDB table and loop through rows using HubL’s
{% for %}tag. - Escape all dynamic text output to avoid broken HTML from special characters in customer quotes.
- Lazy-load images and video thumbnails so the module doesn’t block initial page render.
- Add ARIA labels, keyboard navigation, and captions for any embedded video before calling the module done.
Pro Tip: Hand developers a one-page spec listing every field marketers will need to edit (quote, name, tags, featured flag) so the module’s editor fields match how your content team actually works, not how the developer assumes it will.
Once built, document which fields marketers can safely edit versus which require a developer, so ownership doesn’t quietly default back to engineering every time someone wants to swap a quote.
Where and How Should Testimonials Appear for Maximum Impact?
Placement matters as much as the method you choose. Your homepage benefits from broad, trust-building quotes; your pricing page needs testimonials that address value and ROI specifically; your demo booking page converts best with quotes that reduce last-minute hesitation; case study pages should link to the full story behind the quote.
- Pair each testimonial with a specific metric, role, and company name rather than a vague compliment.
- Keep quotes short, then add one sentence of context (what problem the customer had, what changed).
- A/B test testimonial placement above versus below the fold on your highest-traffic landing page.
- Track page-level conversion lift, form completion rate, and demo bookings, not just time on page.
- Confirm the module or widget doesn’t slow page load or break keyboard navigation before you publish.
Specificity does more work than polish. “This tool saved our team 12 hours a week” beats “Great product, highly recommend” every time, because the reader can picture the actual outcome. For a deeper breakdown of copy and layout choices that move conversion, see this guide to displaying success stories that actually convert. Teams running HubSpot CMS should also weigh page speed against widget complexity; the CMS SEO guidance from Baby Love Growth covers how third-party scripts interact with HubSpot’s rendering pipeline.
How Do You Automate Testimonial Collection and Verification?
Manually chasing testimonials doesn’t scale past a handful of customers. The teams that build a real testimonial program automate collection at specific moments: right after purchase, following an NPS or CSAT survey, or once a customer completes onboarding.
- Trigger a testimonial request automatically after a customer hits a key milestone (renewal, positive support ticket, high NPS score).
- Verify the source before publishing (confirm the person’s role, company, and consent to be quoted publicly).
- Attach testimonial metadata directly to the contact record so sales can see it during a deal cycle.
- Use that metadata in personalization sequences, surfacing a relevant quote to a prospect in the same industry.
HubSpot’s own case studies show that consolidating workflows and automating repetitive tasks inside one platform tends to improve adoption and operational efficiency, a pattern that holds for testimonial collection specifically. Separately, HubSpot’s documented results with Ving point to measurable lead and conversion gains tied to automation and centralized platform use, reinforcing why testimonial workflows belong inside your existing CRM rather than bolted on as a side project.
This is where Clareefai fits into the picture: centralized verification confirms each testimonial’s identity before it goes live, role-based dashboards let sales, marketing, and management see different views of the same advocacy data, and automated publishing pushes verified quotes to your site without a manual copy-paste step. For a closer look at building this kind of workflow, the step-by-step testimonial workflow guide walks through the full capture-to-publish sequence.
What I’ve Learned Rolling Out Testimonials on Live Sites
Start small. Deploy three to five testimonials on one high-traffic page and measure conversion before and after, rather than overhauling your whole site at once. Assign one person editorial ownership, and set a real cadence, quarterly at minimum, for retiring stale quotes and collecting new ones. Momentum dies the moment nobody owns the update.
— ClareefAi
Turn Verified Customer Stories Into a HubSpot Sales Asset
Clareefai gives HubSpot teams something the embed widget and marketplace module can’t: testimonials that are automatically captured, verified, and synced straight into your CRM as usable sales assets, not just page decoration.
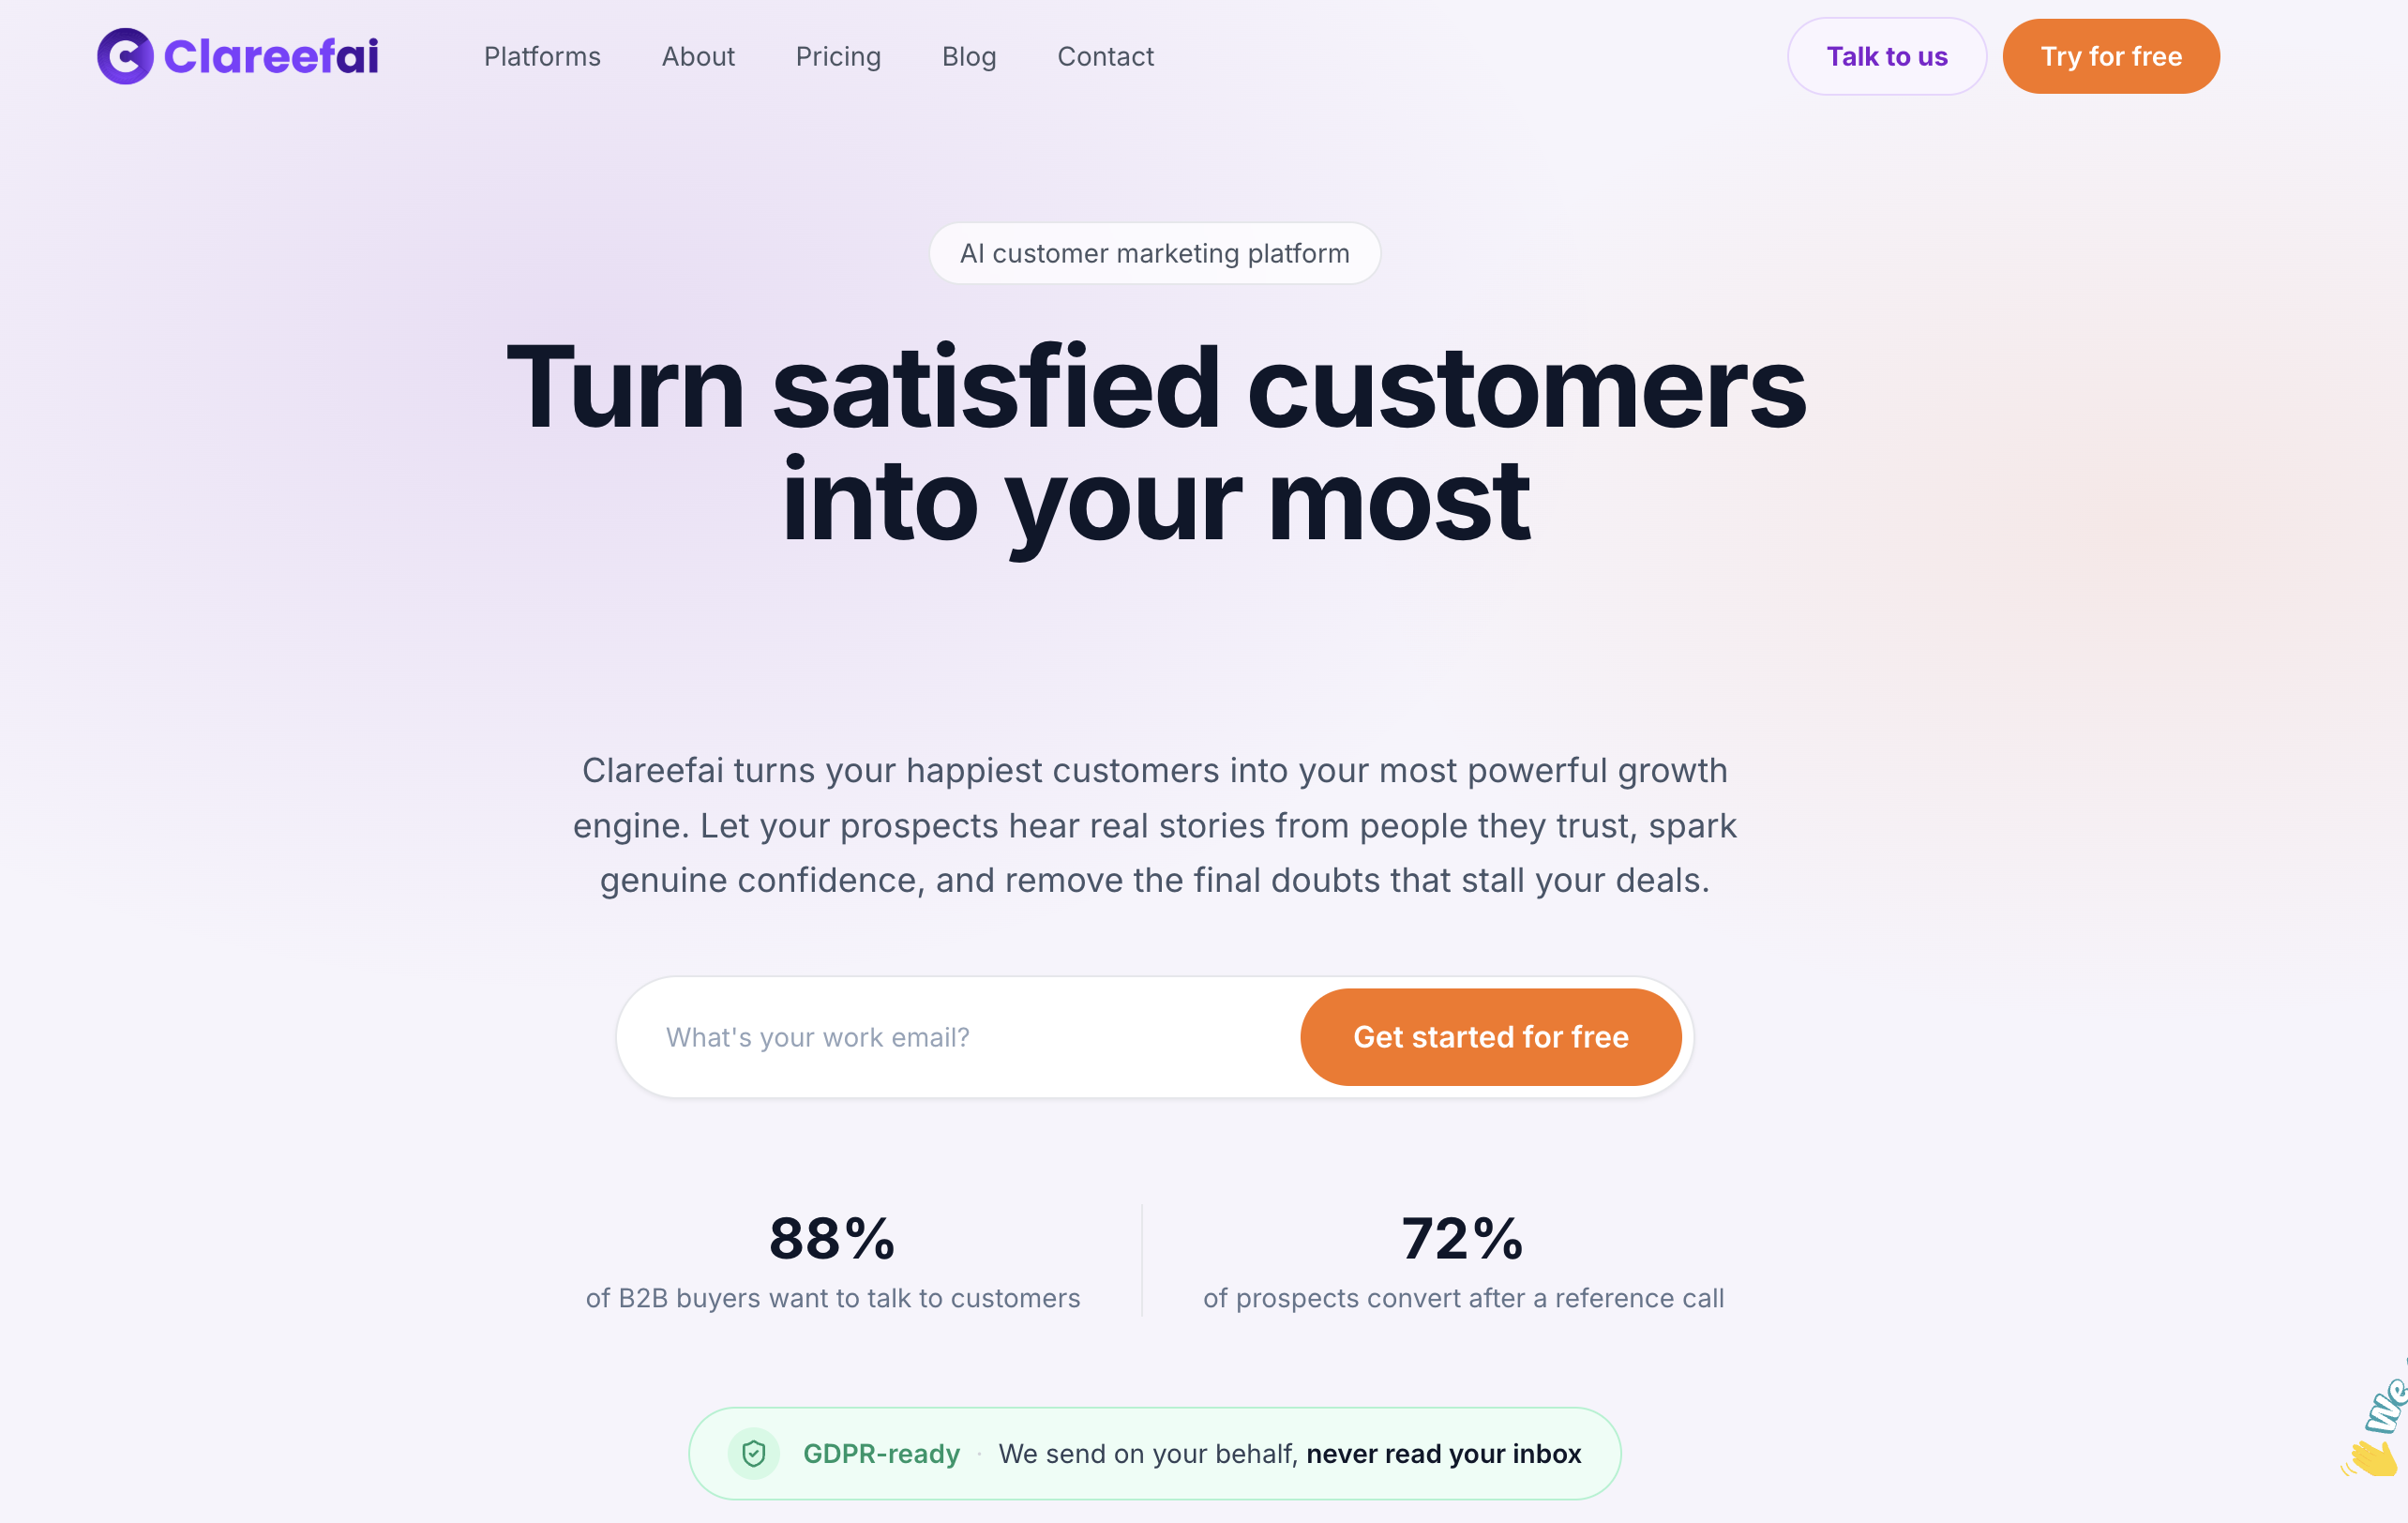
Instead of chasing customers for quotes manually, Clareefai triggers collection at the right moment, post-purchase, after a strong support interaction, or once onboarding wraps, then verifies the source before anything goes live. That verified testimonial doesn’t just sit on a webpage. It attaches to the contact record, so your sales team can pull the exact right proof point mid-deal instead of digging through old email threads. Analytics dashboards then show which testimonials are actually driving pipeline movement, not just page views.
If you’re already weighing HubDB against a marketplace module for your testimonial page, see what a purpose-built testimonial platform adds on top: faster time-to-publish, verified sources your prospects can trust, and CRM-ready metadata your sales team can act on immediately. Start a trial and connect your first testimonial workflow this week.
Sources
- Testimonials Slider Module by GiantFocal
- How to Add Reviews to HubSpot in 5 Minutes
- Unipart case study — HubSpot
Recommended
Share Article
Stay Updated
Get the latest insights on customer advocacy and SaaS growth delivered to your inbox.